Got your sewing machine and ready to do a sewing test. That’s great.. Now thread the sewing machine first. To thread the machine you can check the user’s manual. If you are totally a beginner then you should learn how to thread the sewing machine first.
As a regular sewing professional its a daily job for me. I find it very easy. I can do it in a minute. But as a beginner if you are operating a sewing machine for the first time and with no one physically with you to help you with, it can be frustrating for you.
Here, in this article I will write a step by step guide on how to thread a sewing machine. Simply go through the article.
Threading A Sewing Machine Step By Step Guide
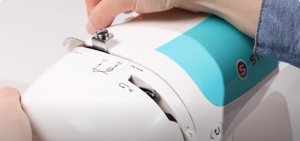
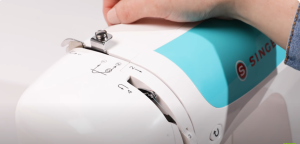
1. Insert the needle
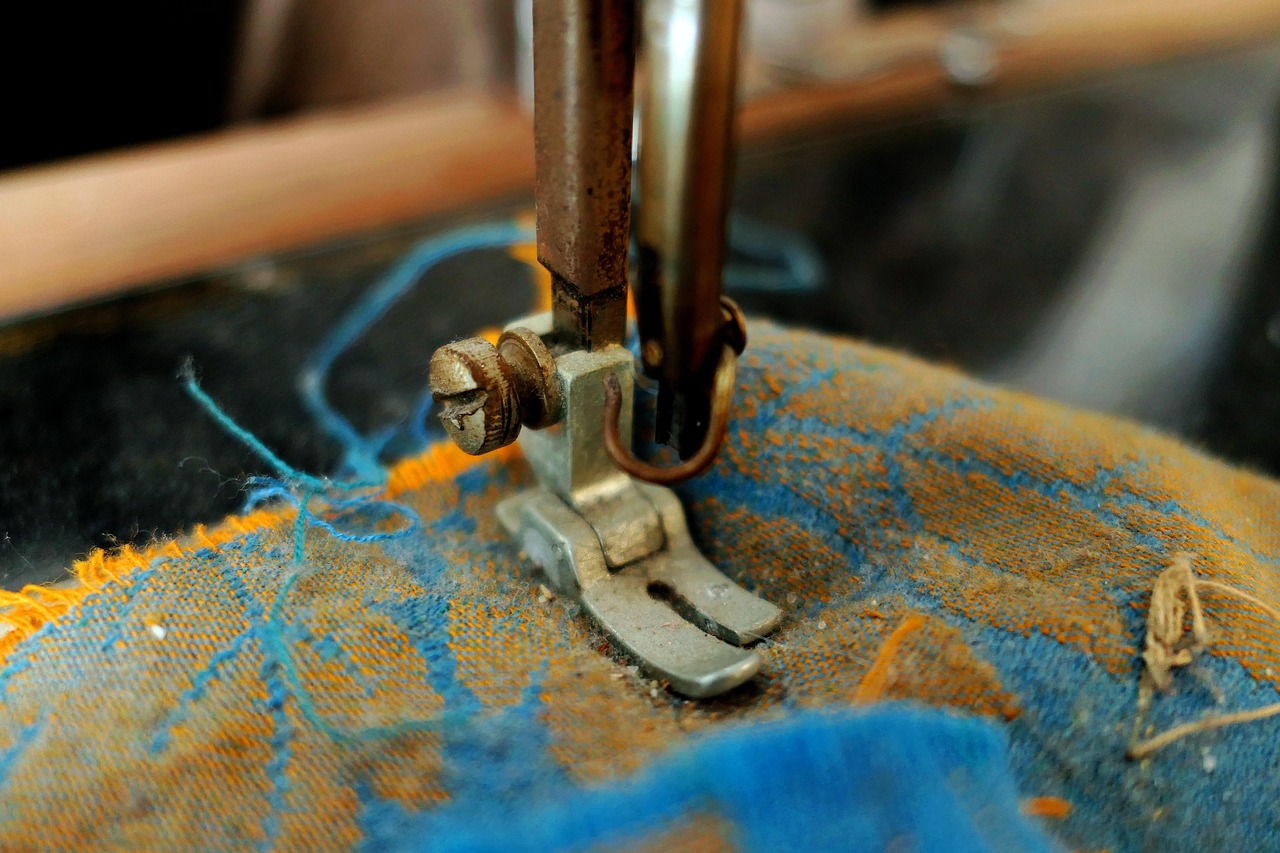
Before going to the threading part insert the needle first. A sewing machine has two sides, a flat side and a little curved side. You can check the machine manual which side to face back.
First step is to power the machine off. Put the presser foot down.
Now hold the needle with the fingers and put flat section in the back if mentioned in the manual.
Loose the screw using a screw driver the place needle in the groove. Push the needle as far up as it will go. Once you are satisfied that the needle is in place, tighten up the screw using a screw driver. Make sure you have tighten up the screw properly.
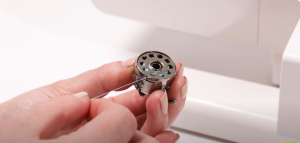
2. Thread the Bobbin
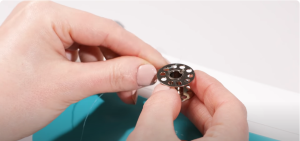
Before going to start the process, you have to wind the bobbin by using the bobbin winder. Always choose a compatible bobbin for your machine. Check your user manual for details about this.
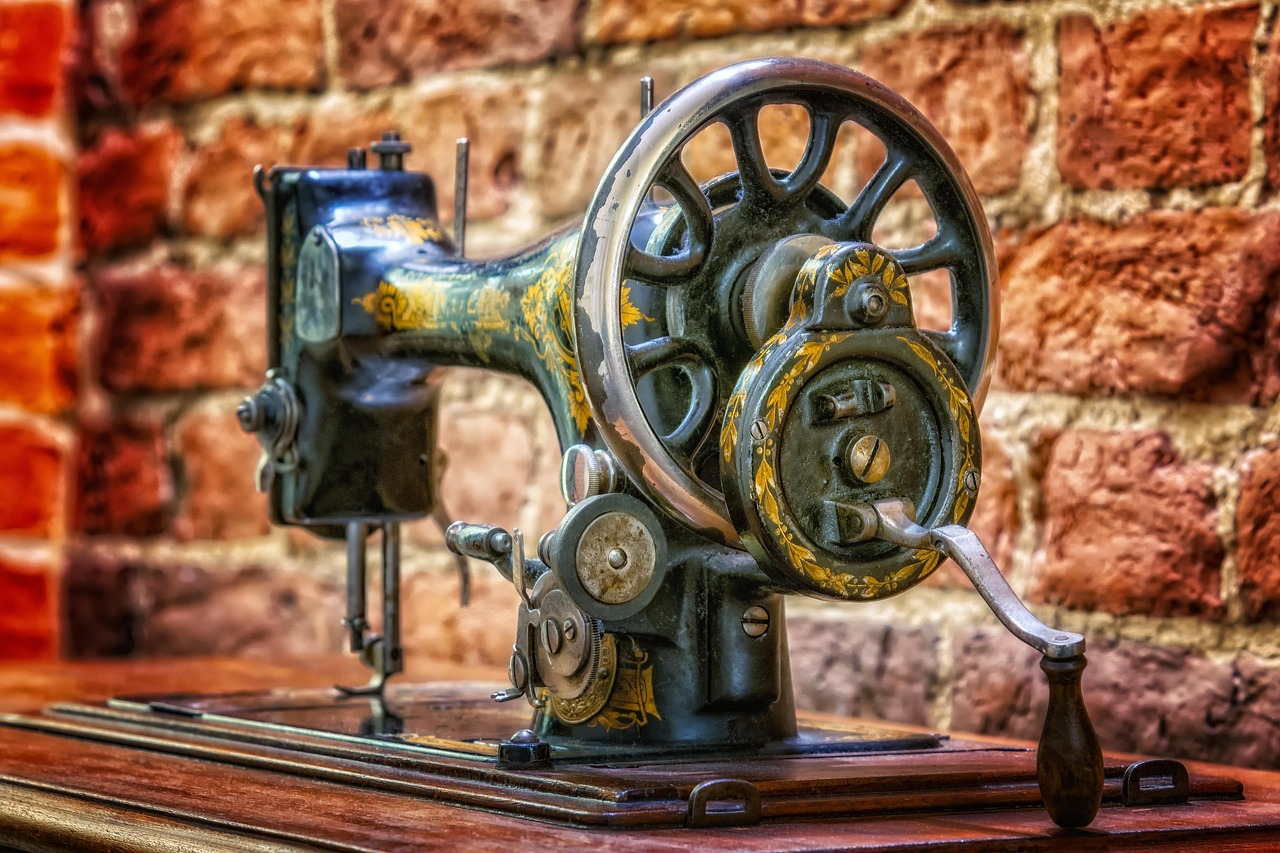
Different sewing machines have bobbin slots at different places. It is on the top right in Bernia and on the other hand the Singer has it on the balance wheel. Brother has front loading bobbin.
First load the spool pin with thread then start winding the bobbin.

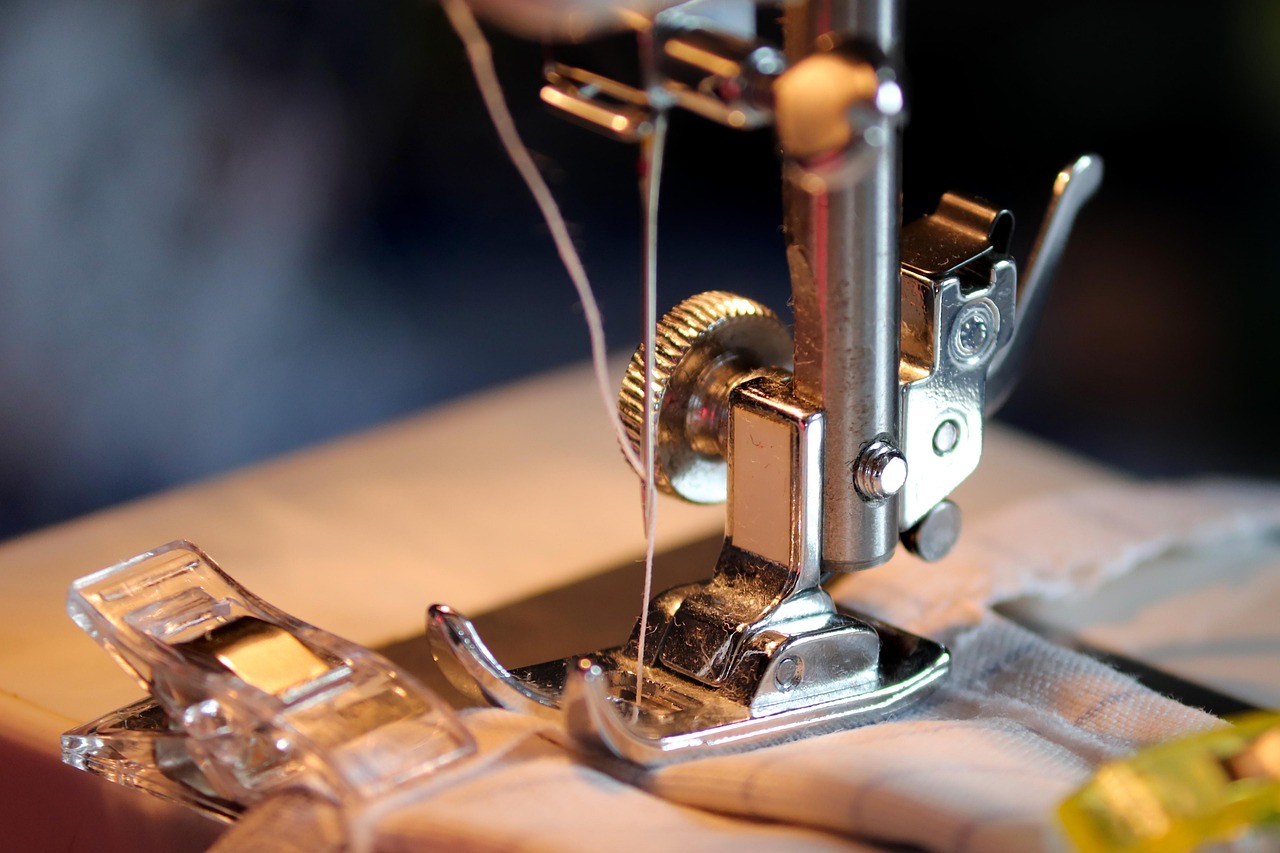
3. Thread the Upper Part Using Thread Guide
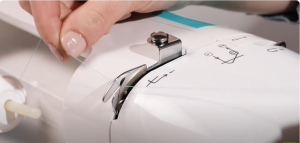
Now, pull the end of the thread from the thread spool to the tension disc using the first thread guide. You can see the upper thread guide on the upper left of the sewing machine.
4. Create tension With Tension Disc
Now wind the thread anticlockwise around the tension disc. Thread tension is very important in sewing. Move the thread from the upper thread guide down and move in between the tension dial, that contains the tension discs.
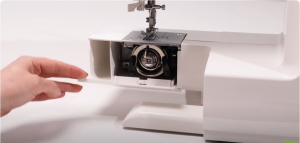
Now take the bobbin and insert in the small circle in the bobbin’s top hole.
Then place the bobbin onto the bobbin winder. Push the bobbin winder to the right. Keep holding the thread while you began pressing the foot pedal to wind the bobbin. Once the bobbin is wound, trim the top thread and continue winding the bobbin. Trim the thread and push the bobbin winder back to the left and remove the bobbin.
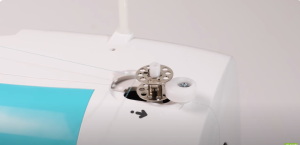
Load the bobbin in the bobbin case with the thread coming outer the way inside and unwind the bobbin thread clockwise.

Now put back the bobbin in the bobbin holder and close the case.
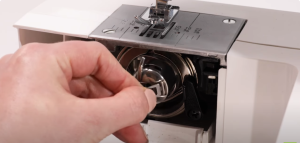
The sewing machine’s upper part is now completely threaded, but the bottom part is still need to be threaded.
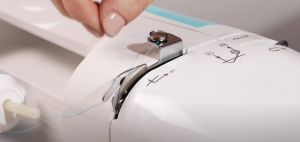
Now remove the thread from the bobbin winding tension disc and follow the thread guide of your machine.
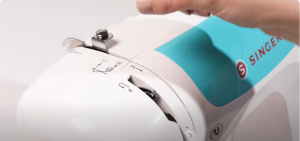
Pass the thread around the second thread guide. Just go down, then round and back up.
Now, you have to thread the thread take up lever by moving the thread right to left till it snaps into place.
Now pull the thread back down towards the base of the sewing machine.
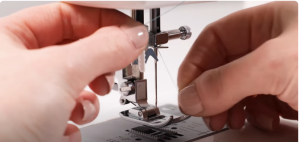
There is a wire needle clamp guide present on the top of the workspace. Pull the thread inside this. It has an opening in the right or left side depending on the machine. Now pull the thread through it.
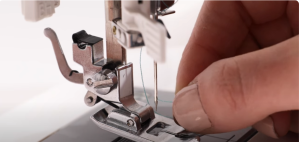
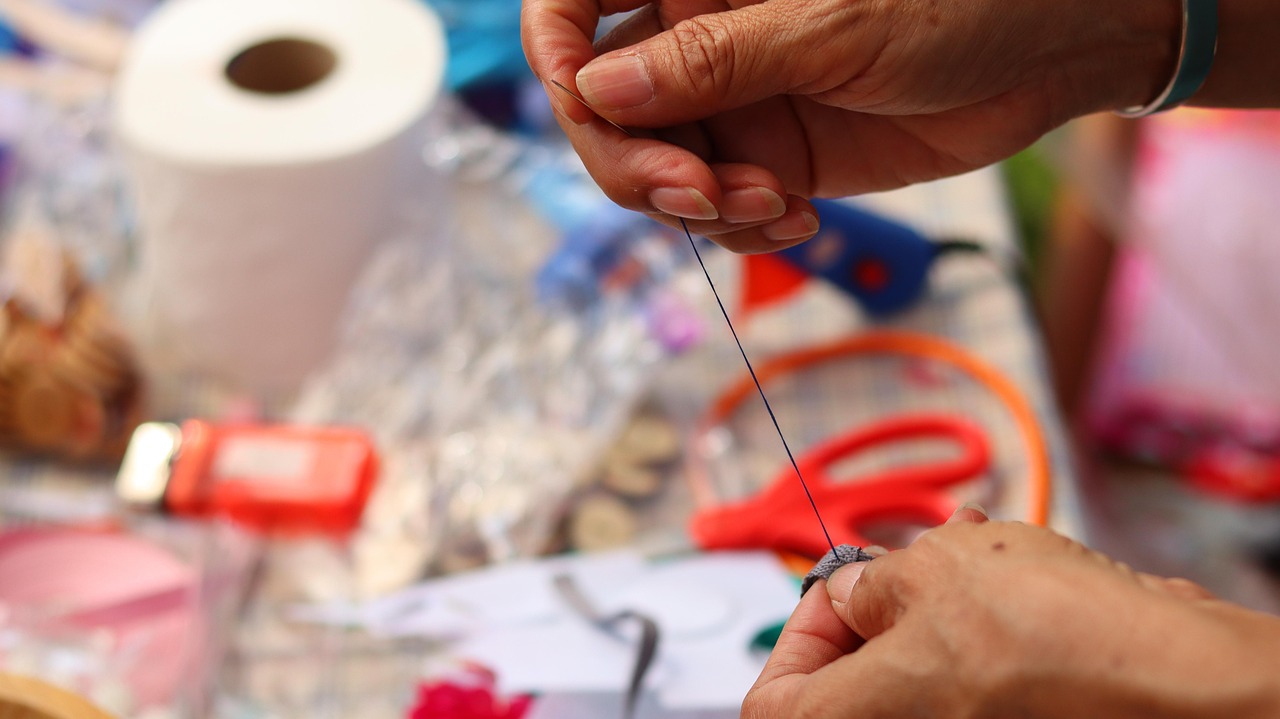
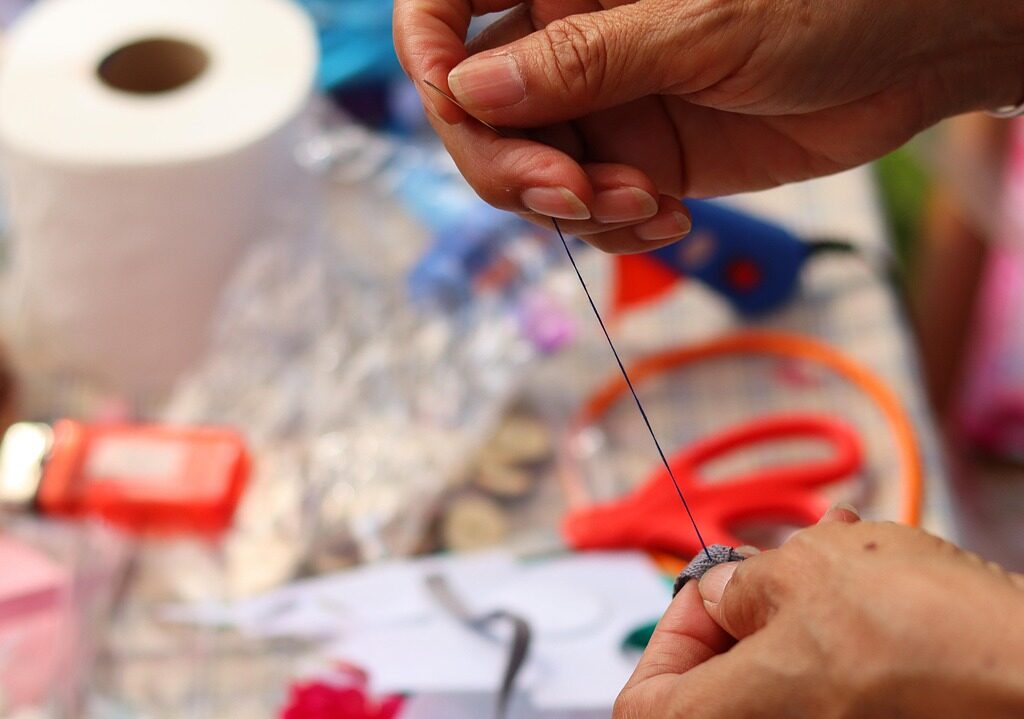
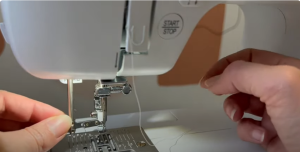
5. Thread The needle
Now pull the thread little more and put in the needle. If your eyes are good you can insert the thread through the front and pull it from the back of the needle.
If you struggle with your eyes then automatic needle threader can help you. If you dont have an automatic needle threader then you can lower the presser foot to the needle plate to get more space to see. Always make a clean cut of your thread, which will give you clear point to use and guide the tip of the thread to the needle eye.
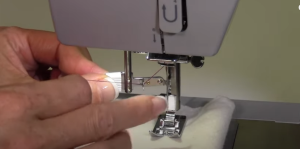
Pull the thread slowly and steadily. Because the thread may spring from your fingers and slip out of the needle, if you pull fast.
So, now hold on to your upper thread and lower the needle using the hand wheel to pull the bobbin thread up from below
How To Use A Built-in Needle Threader
Modern computerized sewing machines come up with built in needle threader. It is a very small but a handy feature. It helps a lot. But you should know how to use the needle threader.
First lower the presser foot. Make sure the needle is in highest position or not, because the threader has to line up with the eye of the needle. Align the hook of the needle threader and eye of the needle in a same height.
The automatic needle threader has a lever in its left side. Partially pull it down with your left hand. With the right hand bring the thread underneath of the little guide. Now bring the needle threader down.

Pull the lever anticlockwise. The thread goes from the right under the guide around the hook.
The lower the needle threader all the way down and rotate it towards you. You’ll see the hook pass through the eye of the needle. Now bring the thread up to the little hook. The push the needle threader way from the needle. Then allow it to its original position. At this point the thread is pulled through the eye of the needle.
Conclusion
We have written a detailed and step by step guide on threading a sewing machine. It must have helped you. Now try these steps in your sewing machine and check if it is working or not. By repeating this process multiple times will help you to remember the process. After that you don’t have to look for the tutorials. Happy sewing…