Every equipment needs servicing and maintenance on a frequent basis for proper running. So as a sewing machine. For a sewing machine apart from annual servicing the other important parts are cleaning and oiling. Oiling helps a sewing machine to run smoothly and also extends the lifespan.
Sewing machine oils are lubricants that helps the machine to run run smoothly by preventing rust and corrosion. Regular oiling in sewing machine can give you noiseless smooth sewing experience.
As a sewer you should oil your sewing machine in a regular interval. Before oiling the machine you should know the proper procedure of oiling like the detecting the spots etc.
Before you start the oiling process, make sure the sewing machine is clean, if not then clean it first to remove all the dirts.
How To Oil A Sewing Machine
Below are some steps to follow while oiling the sewing machine:
1. Check the user manual
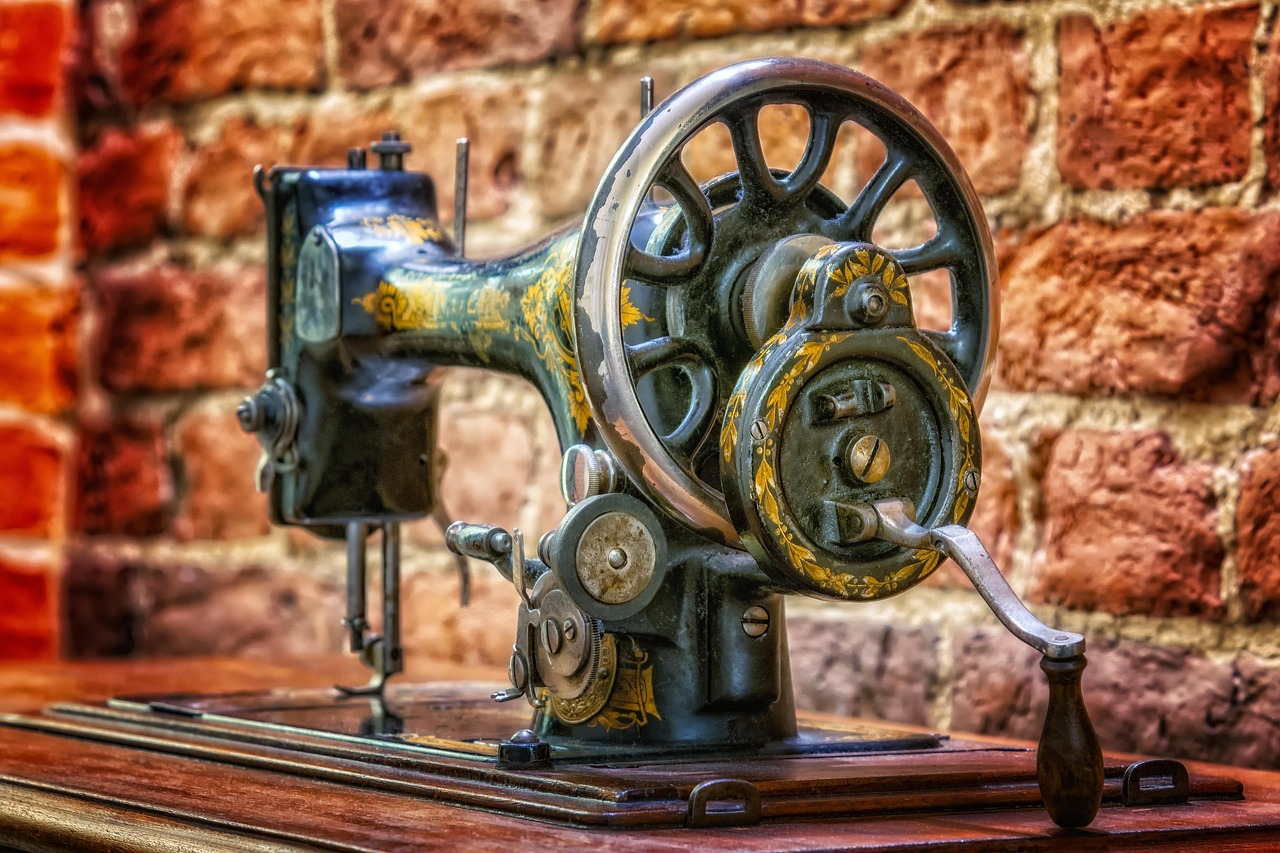
All sewing machines are not same. Each one is different from other. I am not talking about manual sewing machines. All manual sewing machines are almost same. So, its important to check your owner’s manual before attempting. It must be written their which parts need to be oiled.
It may also give you the step step instructions for servicing. If it is given in the manual then you must follow the your manufacturer’s instructions, otherwise the warranty of your machine will void.
2. Unplug the Sewing Machine
Before moving forward, first switch off and unplug the sewing machine for safety.
3. Remove the needle
Before initiating the oiling work, first remove the needle. This will give you extra space for your work and also prevent from injuries caused by the needle.
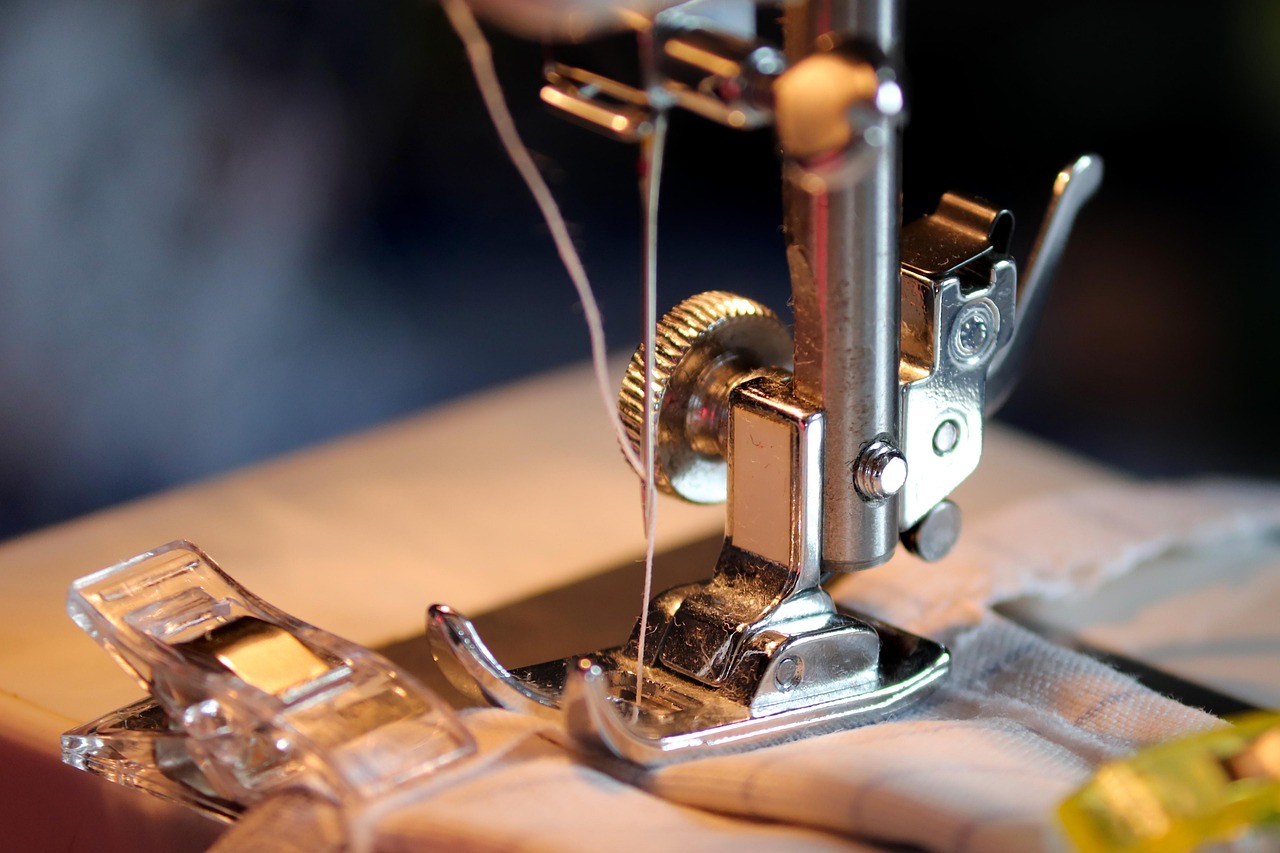
4. Remove the Presser Foot
Now remove the presser feet and other parts of sewing machine using a screw driver. It will give you extra space for oiling and you can also clean it and oil.
5. Remove the Needle Plate and Bobbin Case
Now, take the screw driver, loose the screws of the needle plate and remove it. Now you can easily lift the bobbin case from the machine.
6. Clean the Sewing machine
After removing the machine parts now clean the machine properly. To clean the machine you can use soft cloth or a small brush. Clean every nook and corner of the sewing machine like feed dogs, bobbin case and the area surrounding the needle.
7. Locate the Oil Points
After cleaning each parts properly, now locate the points where to apply the oil in the sewing machine. You can refer the owner’s manual for it. Your manual book will tell you which parts to be oiled and which part needs additional maintenance.
8. Apply Oil
Now the time is to apply oil. Only use the sewing machine oil. Avoid using any other oil which may harm the machine. Add tiny drop of oil on every point. Dont apply excess oil, it may jam the machine.
9. Replace the parts you Removed
After oiling place each parts back to their place. Place the bobbin case and reattach the needle plate. Place the presser feet.
10. Run The Machine
After placing each part in their place now run the sewing machine. Start the machine and run it slowly for sometime. This will cause to distibute the oil uniformly through the machine.
11. Wipe Off Excess Oil
Wipe off the excess oil using a soft cloth, before running the machine.
Which Part Of a Sewing Machine Needs Oiling
Before starting the oiling process, it is necessary to know where to oil the sewing machine for best result. For this you may refer to the sewing machine’s instruction manual. Because every sewing machine is not same and the locations where oil should be given may vary based on its construction and model.
As a general rule, oil is applied on all the moving parts that come in contact with other parts to lubricate them. The most common areas that frequently need oiling are :-
- hook race
- Feed Dogs
- Needle Bar
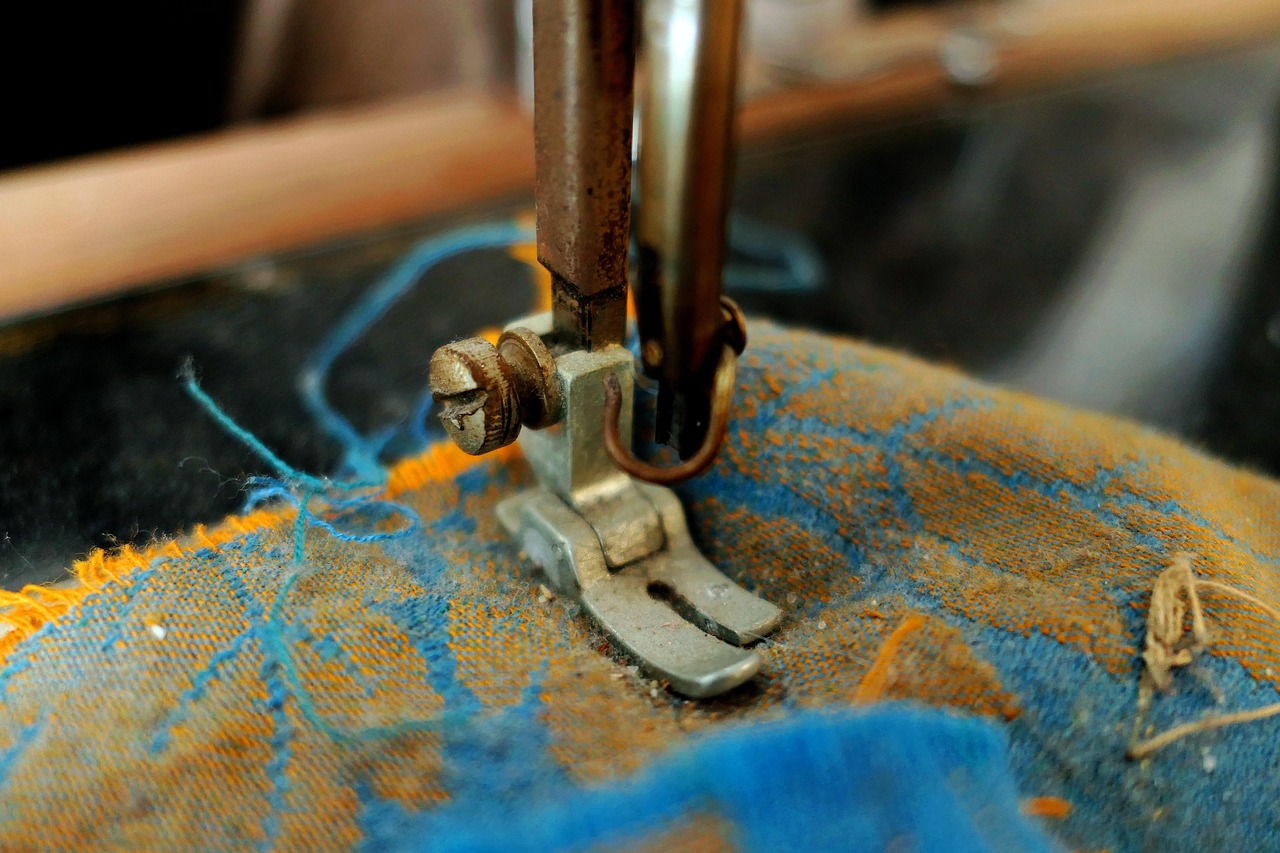
Hook race is a circular groove in a sewing machine that run around the bobbin case. This facilitates the hook to move in a circular path around the bobbin when the machine runs. This hook is one of the most dirtiest part of a sewing machine which requires regular maintenance. For this, clean it using a small brush and apply oil on a cotton swap and clean it. If you use your sewing machine daily then the hook should be oiled daily.
A feed dog is a movable plate which pulls the fabric through a sewing machine. These are metal teeth like ridges found below the needle plate of a sewing machine. Apply few drops of oil it.
Needle bar is the part of a sewing machine that holds the needle in place. It is like a shape of a long cylinder. It is placed above the needle plate. Apply a few drops of oil on the needle bar carefully.
Now run the machine for few minutes after adding oil on the spots, so that the oil will spread evenly. Now wipe off extra oil using a cotton cloth.
How To Oil A Drop-In Bobbin Sewing Machine
In a drop in bobbin sewing machine the bobbin is placed near to the needle plate. It is also called top loading bobbin.
To oil this type of sewing machine you need to follow same steps like unplugging the machine, removing needle plate, bobbin and bobbin case and cleaning.
After cleaning and removing dusts out from the bobbin case, now apply a drop of oil on the wick that sits under the bobbin case.
Now reassemble all the accessories and insert a new needle.
Some machines have a little oiling hole in the bobbin case. So, in that case you dont need to remove the bobbin case . You can apply oil directly.
How To Oil A Front Load Bobbin Machine
Most of the old sewing machines have front loading bobbin system. Oiling in a front loading bobbin machine is little different.
Initial process will be same like unplugging the machine, removing the bobbin case and then cleaning.
Now most crucial step is oiling. You should know how to oil a front loading bobbin. First put one drop of oil on the rim of the shuttle hook where the bobbin case is placed.
Next step is to put some oil on the hand of the shuttle driver. Shuttle driver is a rotating metal piece that is visible when we remove the bobbin. ‘It is a round piece that is attached to the machine in the center.
Now the next step is to oil the top of needle bar. To do this, you have to open the face plate of the sewing machine.
Always check the instruction manual to locate the oiling points.
Why To Oil A Sewing Machine
Now we have learnt how to oil the sewing machine. But the question is why take all the stress and why to oil a sewing machine….?
We should understand that sewing machine is made up of many moving components. All the components might become stiff or even start to grind against each other if not maintained properly. So, for these components to work properly, proper oiling is required. Lubricating the machine can prevent corrosion rust. Oiling in a regular interval will give you smooth and hassle free sewing experience.
How Often Should You Oil A Sewing Machine
Too less or too much of everything is bad. So, you should when to to lubricate your machine. In general, you should oil your sewing machine after eight hours of use. But according to the frequency of use this can vary. You can check the manual to know the details about it.
Which Oil To Use In A Sewing machine
Now the question must be arising in your mind that which oil can be used in sewing machine. Listen, always use high quality, clear sewing machine oil, specifically designed for sewing machine. Dont use vegetable oils or motor oils. They are sticky and can damage your sewing machine.
Conclusion
Oiling a sewing machine is important routine for every sewer. It will help to maintain the sewing machine in good condition and improve the longevity. It will give a smooth and noiseless sewing experience.