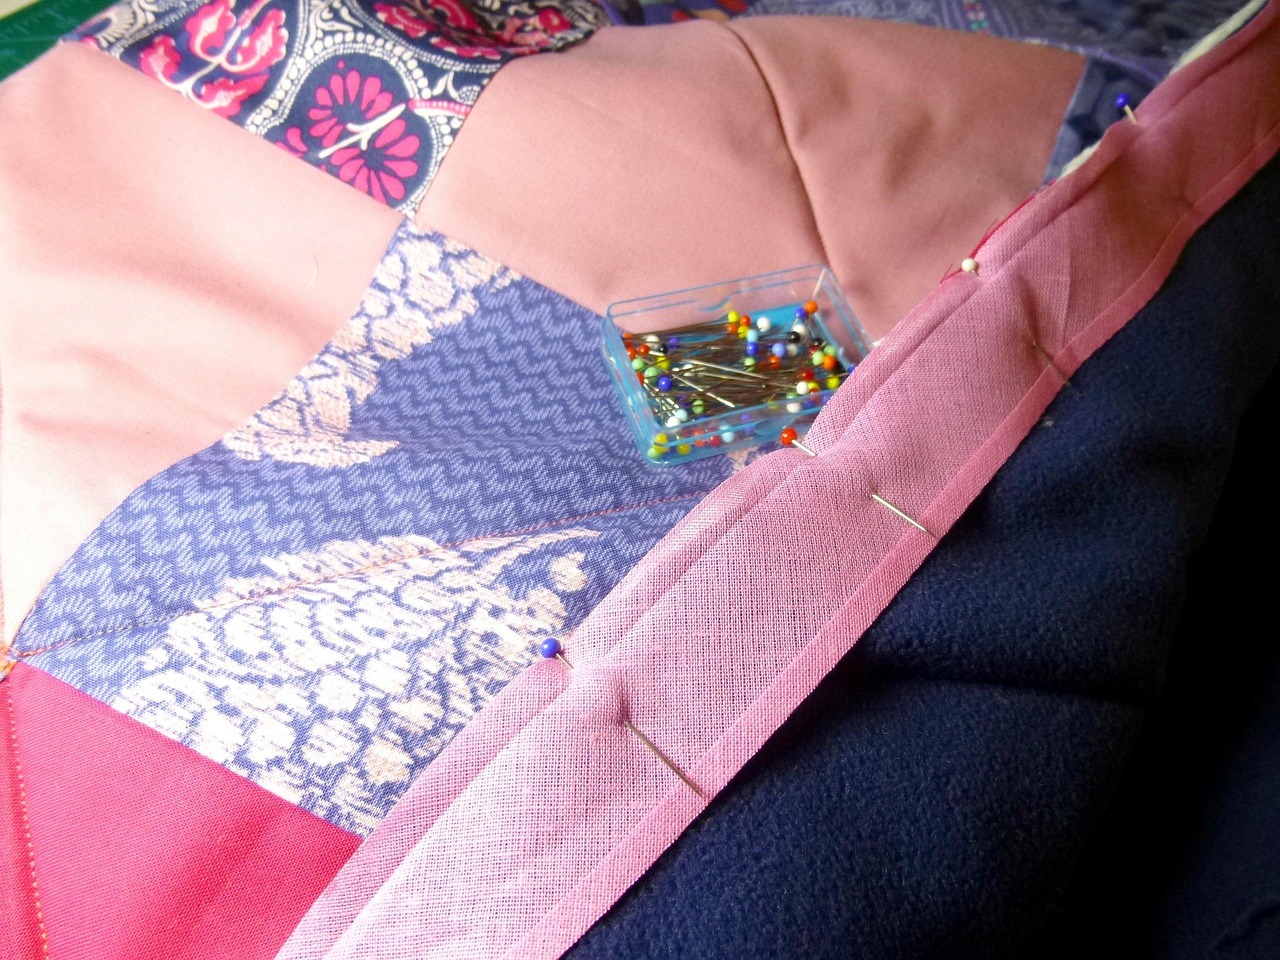
As a sewist, I know most of the sewists want get smooth sewing experience without any difficulties at least during finishing a project. When you are in a hurry to finish a project or excited to start sewing your favorite dress. You thread the machine, take the fabric and start sewing… alas.. the thread jumbled up. And now you have to stop sewing with a broken heart.
I can understand, this is so much frustrating for anyone who was going to start something and suddenly have to deal with another problem. This is common. Every sewist goes through the this problem. Its solution is, you should know your machine’s basic repairing. This problem occurred due to to incorrect sewing machine tension. You should adjust the sewing machine tension first.
So, in this article we will learn how to adjust the sewing machine tension. You can write the steps on a notebook or can print the article for future use.
What Is Sewing Machine Tension
First let us understand what sewing machine tension is. Thread tension is very much important in a sewing machine. If the sewing machine tension is perfect then it will provide clean even stitches. That means both the top and bottom stitches will be same. According to the definition, the sewing machine tension is the amount of the thread that passes through the sewing machine to create each stitch. If there will be more thread in the stitch then the stitch will be looser and if there will be less thread then the stitch will be tighter.
Why Sewing Machine Tension Is Important
The sewing machine tension decides the quality of the stitches and strength of the seam. If the tension of the sewing machine is perfect then both the top and bottom threads interlock in the middle of the fabric. As a result, neat, smooth and even stitches are produced. Incorrect stitches may give too tight or too loose stitches.
Too much or too little tension can sometimes damage the fabric. For professional looking stitches, perfect tension needed.
How To Identify Your Machine Has Imperfect Tension
Before adjusting the sewing machine tension, the firdt step is to identify the tension related problems in your sewing machine.
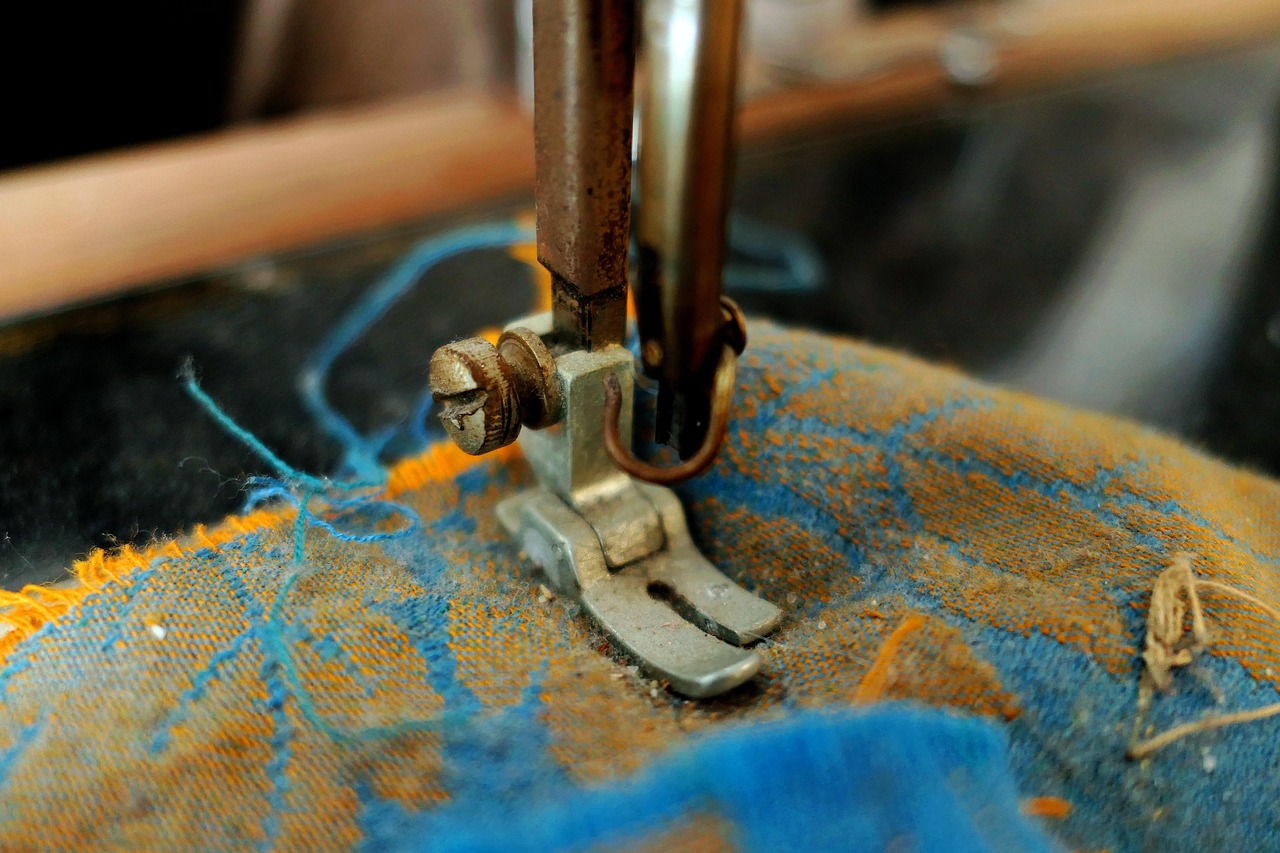
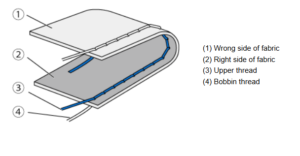
The correct thread tension is when the upper thread and the bobbin thread cross near the center of the fabric in such a way that the upper thread will be visible from the right side of the fabric, and only the bobbin thread will be visible from the wrong side of the fabric.
If you have tension related problems then you start to get the issues like, if the upper tension is loose, then there will be loops or nests of thread on the underside.
If the bobbin tension is too tight or the upper tension is too loose, you get to see the needle thread on the fabric’s underside.
The incorrect or too tight bobbin tension leads to the fabrics to get wrinkled up. If the upper tension is too tight then you may get skipped stitches. If the tension is imbalance then there will be visible knots on the surface of the fabrics.
How To Adjust The Sewing Machine Tension
Here we will discuss some solution to get over from the tension issues. Here are the steps to follow.
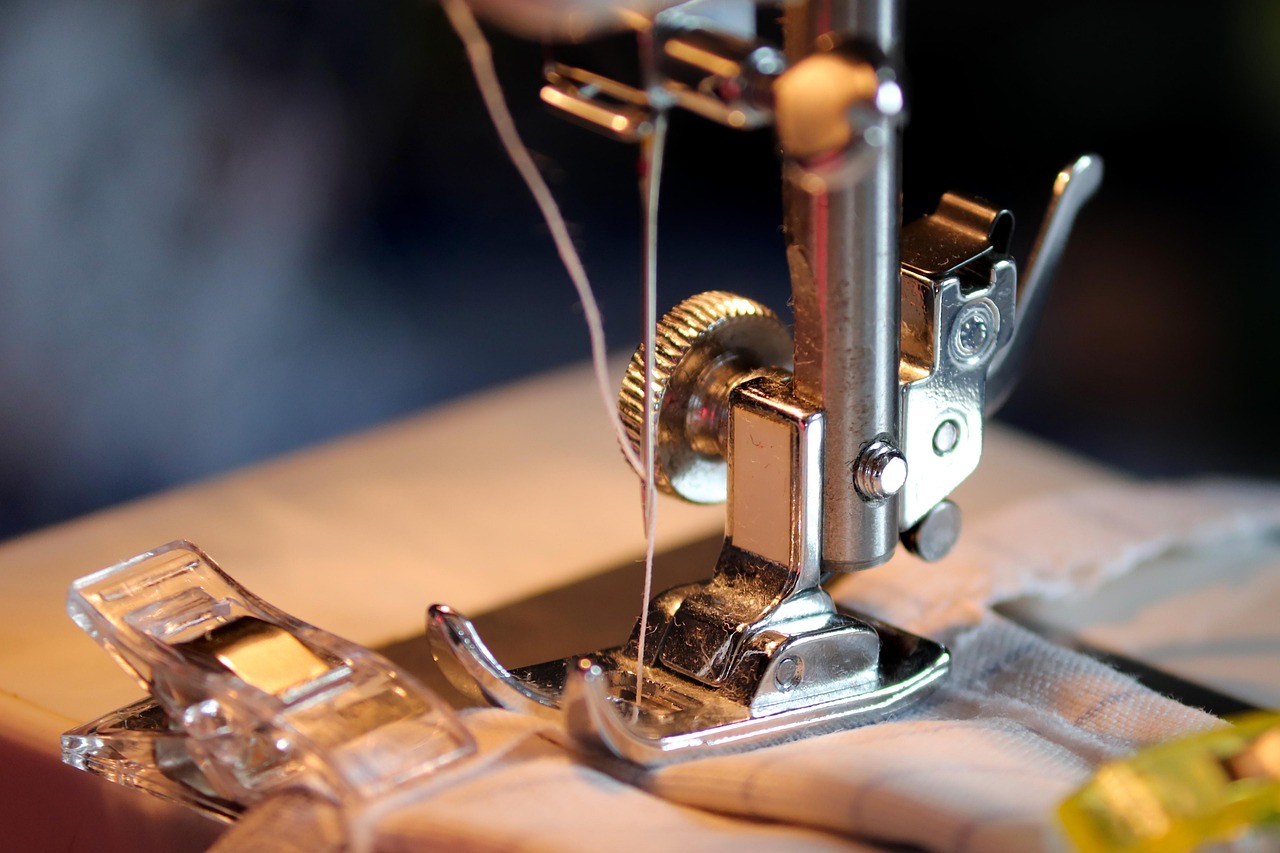
1. Changing The Needle
Sometimes changing the needle of the sewing machine can solve many sewing related problems and improve the results. So, try to change the needle, if you are facing tension issues. Always use the right type of needle for a sewing project. Like, while you are sewing a denim, use a denim needle. It is recommended to change the needle after every 6-8 hours of sewing.
2. Check The Thread
After changing the needle, now its time for a fresh thread. Rethread the machine to ensure you have threaded it correctly. Do it again, if you have just done it. This simple check can save many tension related issues. Always use good quality of thread. Cheaper threads can cause thread breakages and tension issues.
3. Matching The Top And Bobbin Thread
After following the above steps, now make sure that you are using the same thread for both the top and bobbin. Different weight and fibre in thread can create tension issues.
4. Cleaning The Sewing Machine
Can you remind the dates when you have cleaned the sewing machine or took it for servicing. If not, then do it. Clean the sewing machine using the sewing machine manual and clean the bobbin area. Any lint or dust can create tension issues. You can avoid it by regular cleaning. Always take the sewing machine to the service center at least once in a year.
Adjust The Sewing Machine Tension Using The Tension Dial
1. Identify The Tension Disc and Tension Dial
First, locate the tension discs. Typically, it presents above the needle area. It controls the upper thread tension.
Next is identify the tension dial. It is usually marked from 0-9 or 0-10. with this, you can adjust the tension setting. A mid range setting is always preferred.
2. Set The Initial Tension
It is essential to set the initial tension. you may start it by setting the upper tension dial to 4. It works well for most of the fabrics. Check if the bobbin is correctly inserted and thread unwind smoothly. So, that the lower thread tension will be adjusted.
3. Test The Stitch
After doing all this, do a test stitch on a piece of fabric and evaluate tension settings. Examine both sides of the stitch. Check if the threads are interlocked within the fabric layers or not. Does it look identical on both sides or not.
If the upper tension is too tight, the top thread will show on the underside. And, if the upper tension is too loose, the bobbin thread is visible on top.
4. Adjust The Top Tension
You can adjust the upper tension by turning the tension dial gradually in 1/4 turn. Now test the stitch quality.
If the needle tension is too tight, loosen the top tension. If the thread is too loose or forms loops, increase the tension.
5. Adjust The bobbin tension
To adjust the bobbin tension, take the bobbin case and locate the small screw on the bobbin case. Turn the screw to tighten the screw a little. A tighter bobbin tension reduces the dominance of the needle thread, while a looser tension allows the needle thread to be more visible.