
I love to quilt in my free time. I hope you also enjoy it. Today in this, I post a detailed tutorial of my favorite star quilt. If you also like quilt in your leisure time then just come with me. You will learn a new pattern. If you already know, how to quilt and know many patterns then you can openly give suggestions to improve my work. So, lets come with me.

The quilt is 102″x 85″. I made a rather large Twin size quilt since I wanted it to hang to the floor and not have to have a bed skirt. The quilt will go on Penelope’s twin once we move her out of her crib.


Star Quilt’s Tutorial
Here is the breakdown:
6.5″ blocks (they will be 6″ finished)
14 Columns
17 Rows
47 Stars (47 prints for this quilt I doubled some of mine)
14 Fillers (fillers are just a square with 2 star points on them)
191 White squares
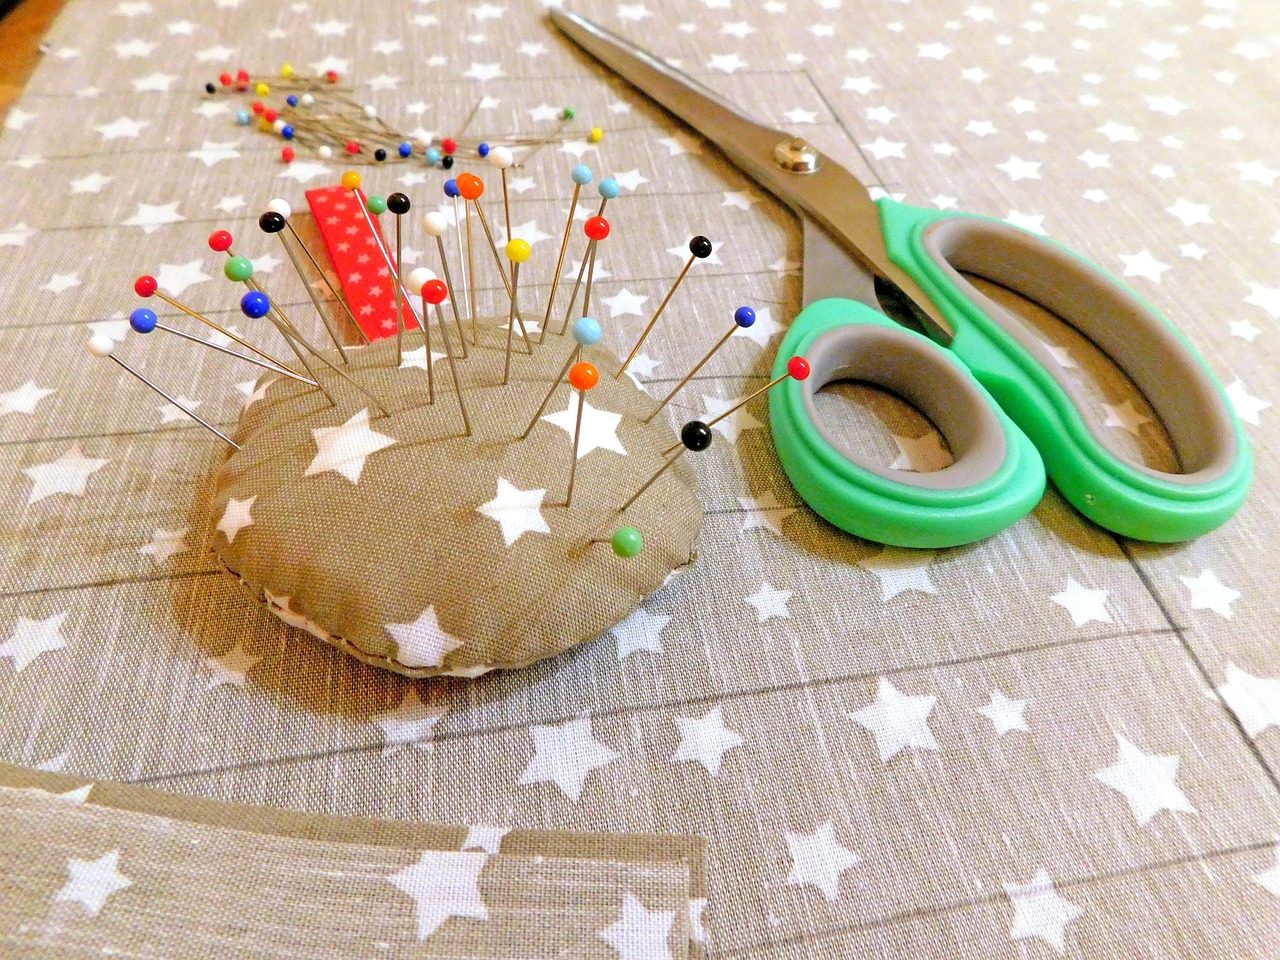
First Cut out all your fabrics
You need 47 prints for this quilt ( Park Slope is only 30 prints so I doubled 17 of the prints to get a total of 47 stars )
Cut out (5) 6.5″ squares of each print. For a total of (235) 6.5″ squares of your print fabric (there is 47 stars and each star is 5 squares)

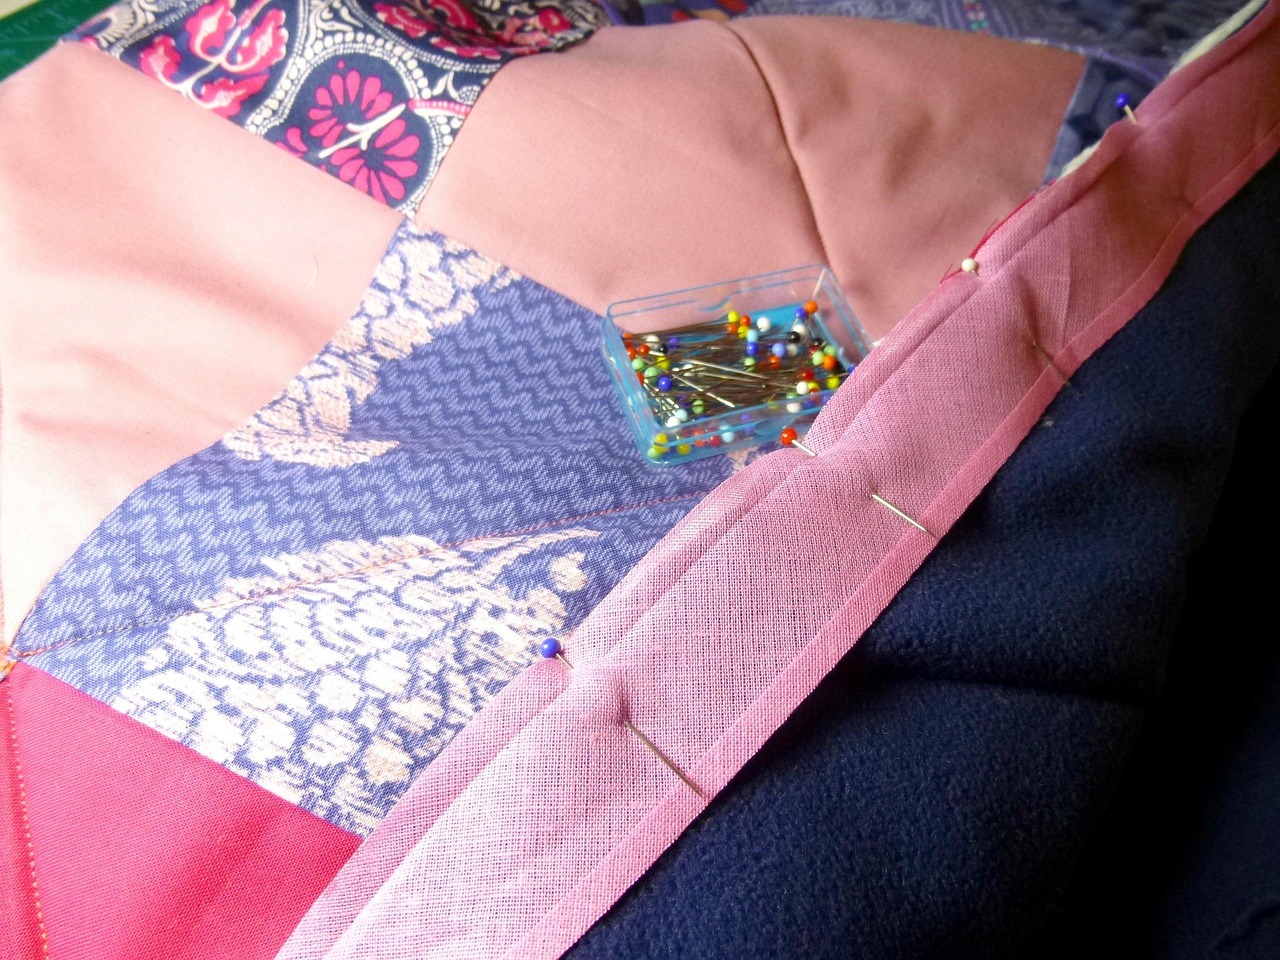
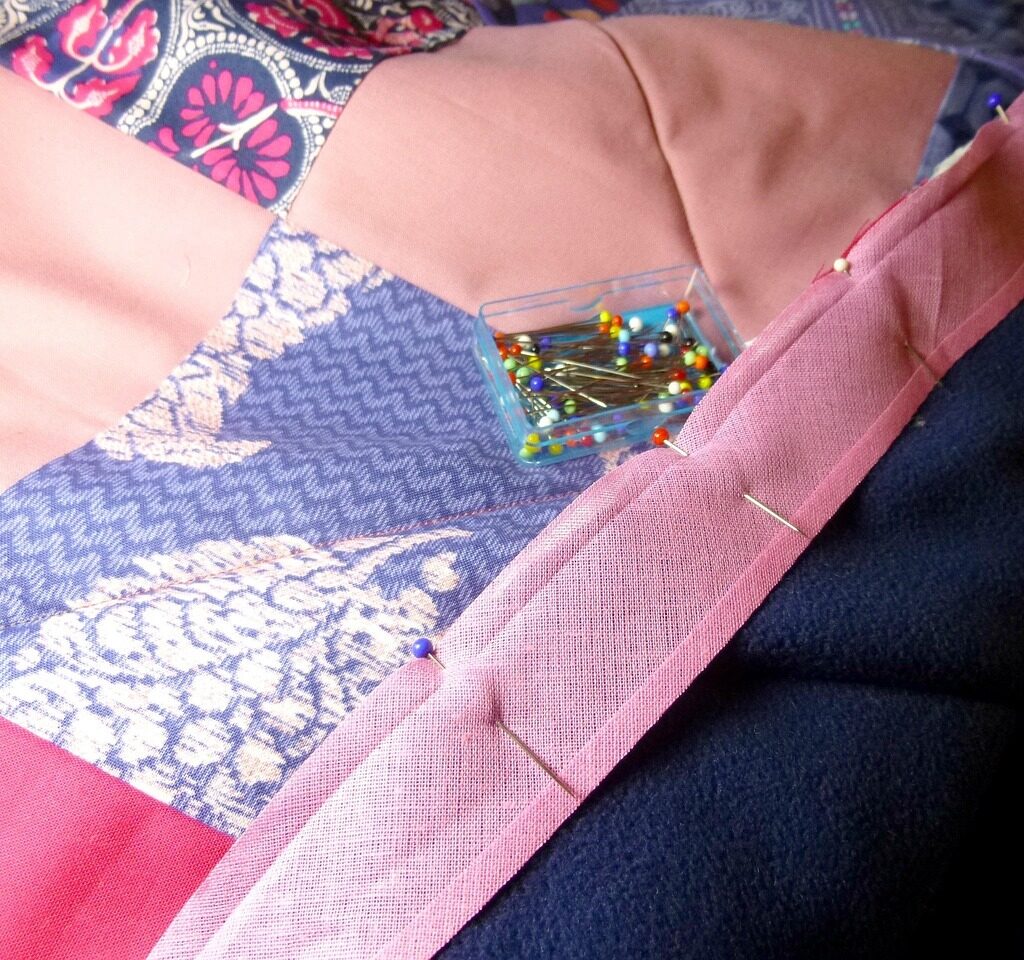
Then sew all the star points using this tutorial but don’t sew the block together.
Now the next step is to trim all of the star points.


This quilt is just to large for me to quilt so I will be sending it out to the quilter I just need to find one first. I can’t wait to get this one back and bound so that we can all enjoy it!
Verdict
I love this star quilt pattern very much. Hope you must have liked it. Just do this and follow step by step by process. You will definitely be able to do it. Have a nice day..


I love, love this quilt pattern!
Thank you for sharing!